


Thinking about giving your garage a facelift? Epoxy flooring could be your answer. It’s not just about looks; this stuff is tough and can handle a lot. Whether you’re parking your car, working on projects, or just hanging out, epoxy flooring makes your garage a better place. Plus, it’s pretty easy to clean. Let’s dig into what makes epoxy flooring a great choice for your garage.
Key Takeaways
- Epoxy flooring is a durable and stylish option for garage floors.
- Proper preparation of the garage floor is essential for a successful epoxy application.
- There are various design options to customize your epoxy garage floor, including colors, patterns, and logos.
- Routine maintenance is key to keeping your epoxy floor looking great over time.
- Understanding the costs involved helps in deciding between DIY and professional installation.
Understanding Epoxy Flooring for Garages
What is Epoxy Flooring?
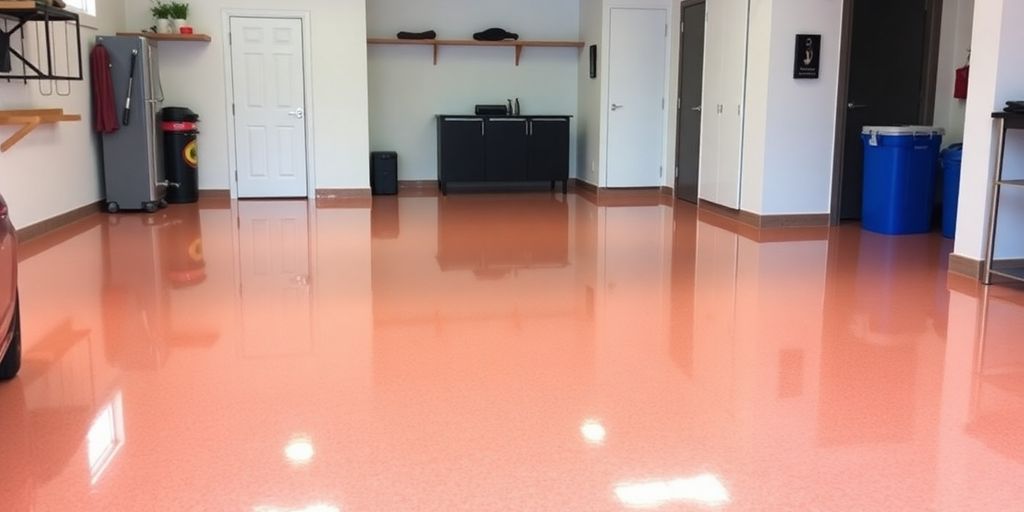
Epoxy flooring is like a superhero for your garage floor. It’s made by mixing epoxy resin with a hardening agent, creating a tough and long-lasting surface. This kind of flooring is applied as a liquid and then hardens into a solid, seamless layer that sticks to the concrete. Epoxy coatings are perfect for areas that need durability, like garages, because they can handle heavy loads, resist stains, and look great.
Benefits of Epoxy Flooring in Garages
Choosing epoxy flooring for your garage comes with several perks:
- Durability: Epoxy floors are built to last. They can withstand the weight of cars and heavy tools without cracking.
- Easy to Clean: Spills and stains are a breeze to wipe away, thanks to the smooth surface.
- Aesthetic Appeal: With a shiny finish, epoxy flooring can make your garage look polished and professional.
Epoxy flooring isn’t just about looks—it’s about making your garage work better for you.
Common Misconceptions About Epoxy Flooring
Many people think epoxy flooring is expensive or hard to install, but that’s not always true. While it does require some prep work, it’s often more affordable than other flooring options in the long run. Plus, there are DIY kits available for those who want to tackle the job themselves. Another myth is that epoxy floors are slippery, but with the right additives, they can be made slip-resistant. So, don’t let these misconceptions hold you back from considering epoxy for your garage.
Preparing Your Garage for Epoxy Flooring
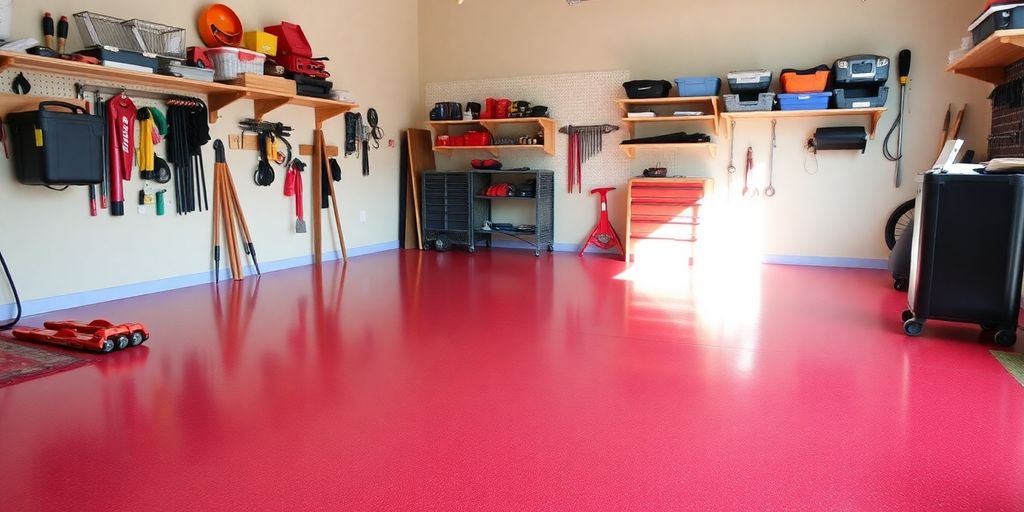 Getting your garage floor ready for epoxy is like prepping for a big paint job. You want everything just right so the finish is smooth and lasts a long time. So let’s break down how to do it.
Cleaning and Repairing the Garage Floor
Before anything else, you need a clean slate. Dirt and grime are your enemies here. Start by sweeping and vacuuming the entire floor to get rid of loose debris. After that, scrub it down with a degreaser to remove oil stains and other stubborn spots.
Once it’s clean, inspect the floor for cracks or chips. These need fixing before you can move on. Use a concrete patch kit to fill in any gaps and smooth them out with a trowel.
Choosing the Right Epoxy Product
Not all epoxy is created equal. You’ve got to pick the right type for your garage. Here’s a quick rundown:
- Water-based epoxy: Easier to apply and less odor, but not as durable.
- Solvent-based epoxy: More durable and resistant to chemicals, but it has a stronger smell.
- 100% solid epoxy: The most durable, but also the hardest to work with.
Think about what you need in terms of durability and ease of application before making your choice.
Safety Precautions During Installation
Safety first, folks. When you’re dealing with epoxy, you need to protect yourself. Wear gloves, goggles, and a mask to avoid skin contact and inhalation of fumes. Make sure the garage is well-ventilated by opening windows and doors.
Also, plan your installation around the weather. Epoxy needs a stable temperature and humidity level to cure properly. Ideally, you should aim for a dry, mild day to start your project.
Prepping your garage for epoxy flooring might seem like a lot of work, but it’s worth it when you see that shiny, new floor. Just take your time and follow each step carefully, and you’ll be walking on a smooth surface in no time.
Step-by-Step Guide to Installing Epoxy Flooring
Tools and Materials Needed
Before diving into the project, gather all the necessary tools and materials. You’ll need a few basics like a paint roller, mixing paddle, and a floor scraper. Don’t forget the epoxy kit itself, which usually comes with a resin and hardener. Having everything ready beforehand saves time and stress. Here’s a quick list:
- Paint roller with an extension handle
- Mixing paddle and drill
- Floor scraper
- Epoxy resin and hardener kit
- Painter’s tape and plastic sheeting
Application Process Explained
Now, let’s get into the application process. First, make sure your garage floor is squeaky clean and dry. Use a broom and mop for any dust or grime. Once that’s sorted, mix your epoxy according to the instructions on the package. Pour the mixture onto the floor in sections, using your paint roller to spread it evenly.
- Clean the floor thoroughly.
- Mix the epoxy resin and hardener.
- Pour and spread the epoxy with a roller.
- Use a scraper for any bubbles.
Remember, applying epoxy is not a race. Take your time to ensure every inch of your floor is covered.
Curing and Drying Times
After application, curing and drying are the next steps. Typically, epoxy takes about 24 to 48 hours to cure, but it can vary based on humidity and temperature. Patience is key here. Avoid walking on the floor until it’s completely dry to prevent any damage.
| Stage | Time Required |
|---|---|
| Initial Set | 12-24 hours |
| Full Cure | 48-72 hours |
For more detailed instructions on each step, refer to this guide on installing an epoxy flake floor. It covers everything from project planning to the final touches, ensuring a durable and beautiful finish.
Design Options for Epoxy Garage Floors
Color Choices and Finishes
When it comes to epoxy garage floors, the color palette is vast and exciting. You can opt for solid colors that provide a sleek, modern look, or go for metallic finishes that add a touch of luxury to your space. Bold, bright colors can make your garage feel more lively and welcoming. On the other hand, neutral tones offer a clean and professional vibe.
Incorporating Patterns and Textures
Patterns and textures can transform your garage floor into a work of art. From simple geometric shapes to intricate designs, the possibilities are endless. Consider adding a speckled pattern to hide dirt and imperfections, or a marbled texture for a sophisticated appearance. Textured finishes not only enhance aesthetics but also improve slip resistance, making your garage safer.
Customizing with Logos and Graphics
Personalize your garage floor with custom logos or graphics. Whether you want to display your favorite sports team, a company logo, or a unique design, epoxy flooring allows for high customization. This can be a great way to express your personality or brand identity in your garage. Just remember, the more intricate the design, the more skill and time it may require.
Designing your epoxy garage floor is a chance to combine functionality with personal style. Take your time to explore different options and create a space that truly reflects your taste and needs.
Maintaining Your Epoxy Garage Floor
Routine Cleaning Tips
Keeping your epoxy garage floor looking sharp is all about regular cleaning. Dust and dirt can dull the shine if left to pile up, so sweep or vacuum the floor weekly. A damp mop with a mild detergent works wonders for deeper cleaning. Just mix a bit of dish soap with water, and you’re good to go. Avoid using harsh chemicals or abrasive cleaners, as they can damage the epoxy finish.
Handling Stains and Spills
Accidents happen, especially in a garage. Whether it’s oil, paint, or other fluids, the key is to act fast. For most spills, a simple cloth or paper towel can do the trick. For tougher stains, a soft scrub brush and a gentle cleaner should suffice. Remember, the sooner you tackle the spill, the easier it will be to clean.
Long-Term Care and Maintenance
To keep your floor in top shape, consider these long-term care tips:
- Avoid dragging heavy equipment across the floor. Use plywood sheets if you need to move something heavy.
- Place mats or rugs at entry points to catch dirt and debris before it hits the floor.
- Reapply a topcoat every few years to maintain the floor’s shine and protection.
With a little effort and the right care and cleaning techniques, your epoxy garage floor can last for years and keep looking great. It’s all about staying on top of maintenance and dealing with issues as they arise.
Troubleshooting Common Epoxy Flooring Issues
Identifying and Fixing Bubbles
Air bubbles can be a real pain when it comes to epoxy flooring. They often pop up because the surface wasn’t prepped right, or maybe the epoxy was mixed too fast. To get rid of these bubbles, you can use a spiked roller or a heat gun right after applying the epoxy. Make sure the room is well-ventilated and the temperature is just right.
- Check the mixing process: Stir the epoxy slowly to avoid trapping air.
- Use a spiked roller: Roll it over the wet epoxy to release trapped air.
- Adjust the room temperature: Keep it stable to prevent new bubbles from forming.
Dealing with Peeling or Chipping
Peeling or chipping happens when the epoxy doesn’t stick to the floor properly. This can be due to moisture, dust, or oil on the surface before application. Here’s how you can fix it:
- Clean the area thoroughly: Remove any dust or grease that might be causing the issue.
- Sand the damaged parts: Smooth out the peeling or chipped areas.
- Reapply epoxy: Make sure the floor is completely dry before applying a new layer.
Preventing Future Problems
To avoid these common issues with epoxy flooring, it’s important to follow some basic guidelines:
- Prepare the floor correctly: Clean and dry the surface thoroughly before application.
- Mix the epoxy properly: Follow the instructions to ensure the right consistency.
- Maintain the right conditions: Keep the area well-ventilated and at a stable temperature during application.
Keeping your epoxy floor in tip-top shape doesn’t have to be a headache. With a bit of attention to detail and some preventive measures, you can enjoy a flawless finish for years to come.
Cost Considerations for Epoxy Garage Flooring
Budgeting for Your Project
When you’re planning to upgrade your garage with epoxy flooring, it’s important to get a handle on your budget. Costs can vary widely based on the size of your garage and the type of epoxy you choose. Here’s a breakdown to help you plan:
- Material Costs: Typically, you’ll spend about $2 per square foot on materials. This includes the epoxy resin and any decorative flakes or additives you might want.
- Labor Costs: If you’re hiring professionals, expect to pay between $7 and $12 per square foot. Labor costs can fluctuate depending on the complexity of the job and your location.
- Additional Expenses: Don’t forget about prep work costs, like cleaning and repairing the floor, which can add to your total.
Comparing DIY and Professional Installation
Deciding between doing it yourself or hiring a pro can be tough. Here’s what to consider:
- Skill Level: Are you handy and have some experience with flooring? DIY might be a good option.
- Time Commitment: Installing epoxy flooring yourself will take time. If you’re short on time, hiring a professional could be worth the extra cost.
- Quality of Finish: Pros have the tools and expertise to deliver a smooth, durable finish that might be hard to achieve on your own.
Understanding Warranty and Lifespan
Epoxy flooring can last a long time if done right. Here’s what you should know:
- Warranty: Many professional installations come with a warranty, offering peace of mind.
- Lifespan: A well-installed epoxy floor can last 10-20 years, depending on use and maintenance.
Investing in epoxy flooring for your garage is not just about improving the look but also about adding value to your home. Weighing the costs and benefits carefully can ensure you make the right decision for your space.
Wrapping It Up
So there you have it, folks. Epoxy flooring for your garage isn’t just about looks—it’s about making your life a bit easier. Whether you’re tired of oil stains or just want a cleaner space, epoxy’s got your back. It’s not rocket science, but it does take a bit of planning and elbow grease. Once it’s done, though, you’ll wonder why you didn’t do it sooner. Your garage will look sharp, and you’ll have a floor that can handle whatever you throw at it. So grab those tools, maybe call a buddy, and get started on transforming your space. Trust me, it’s worth it.
Frequently Asked Questions
What exactly is epoxy flooring?
Epoxy flooring is a type of floor covering made from mixing resin with a hardener. When combined, they create a strong, shiny surface that’s great for garages.
Why should I choose epoxy flooring for my garage?
Epoxy flooring is durable, easy to clean, and makes your garage look great. It also resists stains and spills, making it perfect for a busy garage.
Are there any downsides to epoxy flooring?
Some people think epoxy floors are slippery, but you can add textures to make them safer. Also, they need proper preparation and installation to last long.
How do I prepare my garage for epoxy flooring?
Start by cleaning the floor and fixing any cracks. Make sure the surface is dry and free from dust before applying the epoxy.
Can I install epoxy flooring myself, or do I need a professional?
You can install it yourself if you follow the steps carefully, but hiring a professional might be easier if you’re unsure.
How long does epoxy flooring last in a garage?
With proper care, epoxy flooring can last many years, often between 5 to 10 years or even longer.
0 Comments